




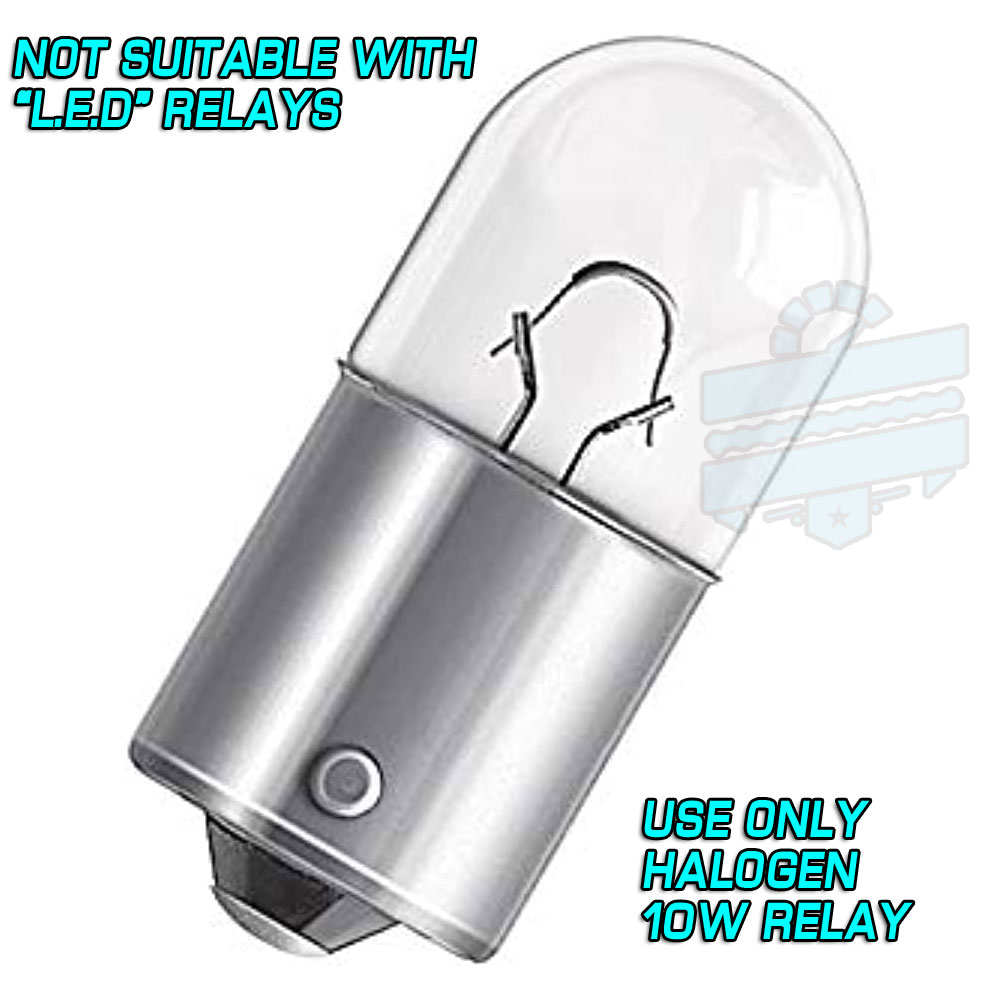

Indicator Bulb (Turn Signal Lamp) Hyosung GV125S GV300S Bobber Aquila
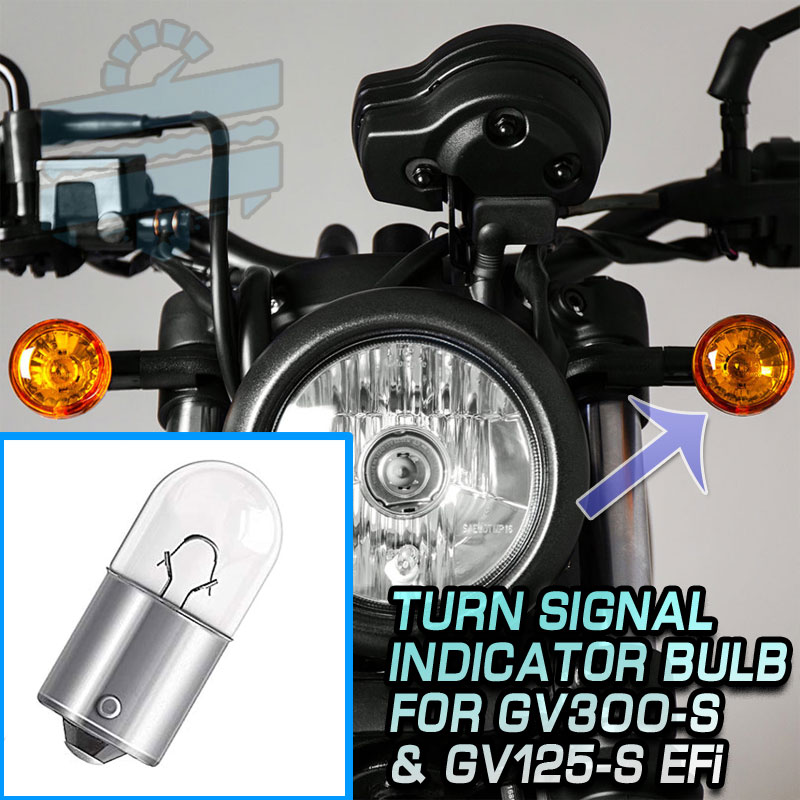
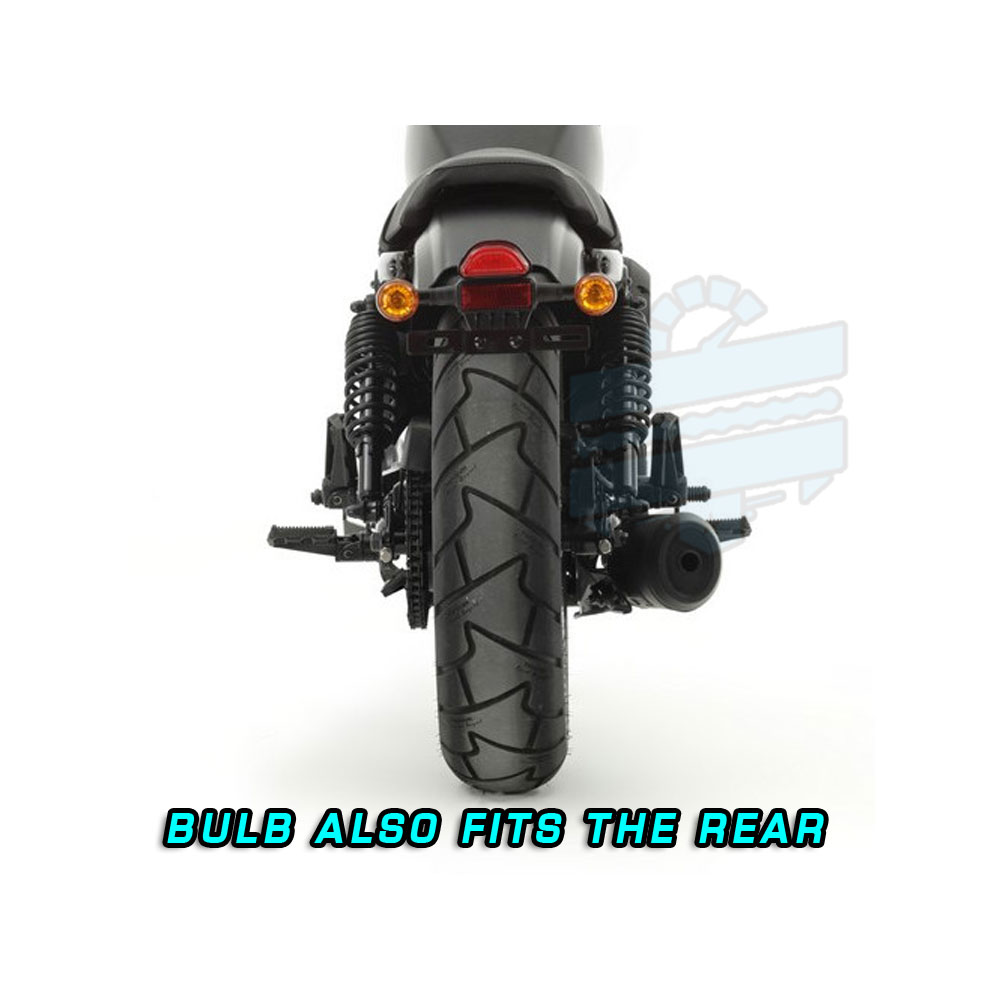
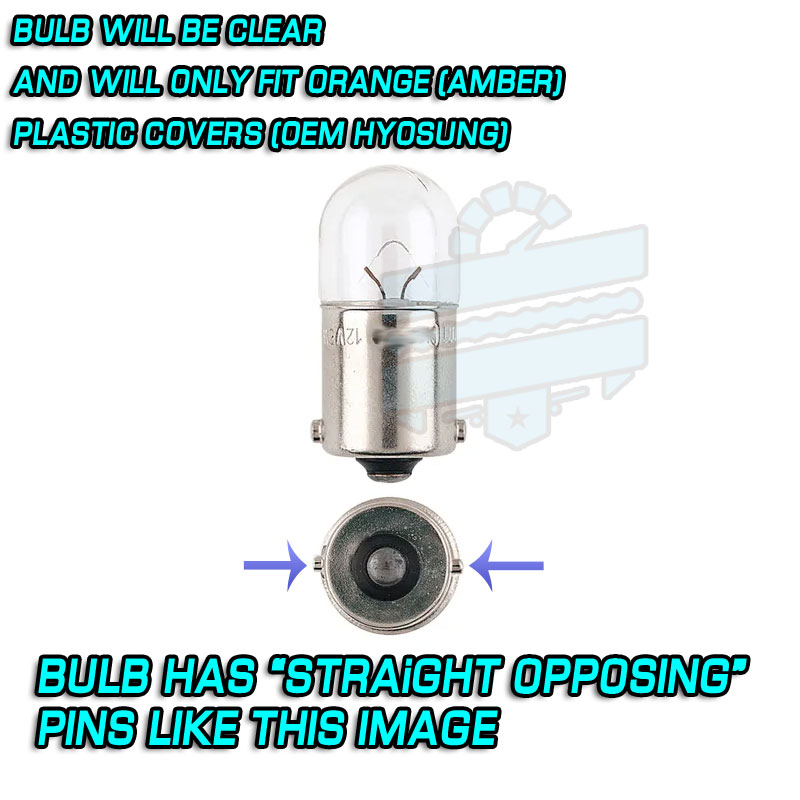
Stay noticed with clear visibility when flashing your intentions. This standard halogen clear bulb is a direct replacement version for Bobber models using factory orange lens housings. Simple push-and-twist installation ensures you remain fully visible and safe on everyday roads instantly.
- Function // Restores life to dim, yellowing, or completely blown turn signals.
- Installation // Direct plug-and-play fit—no splicing or wire trimming needed.
- Road Legal // Essential filament safety component for standard local vehicle inspections.
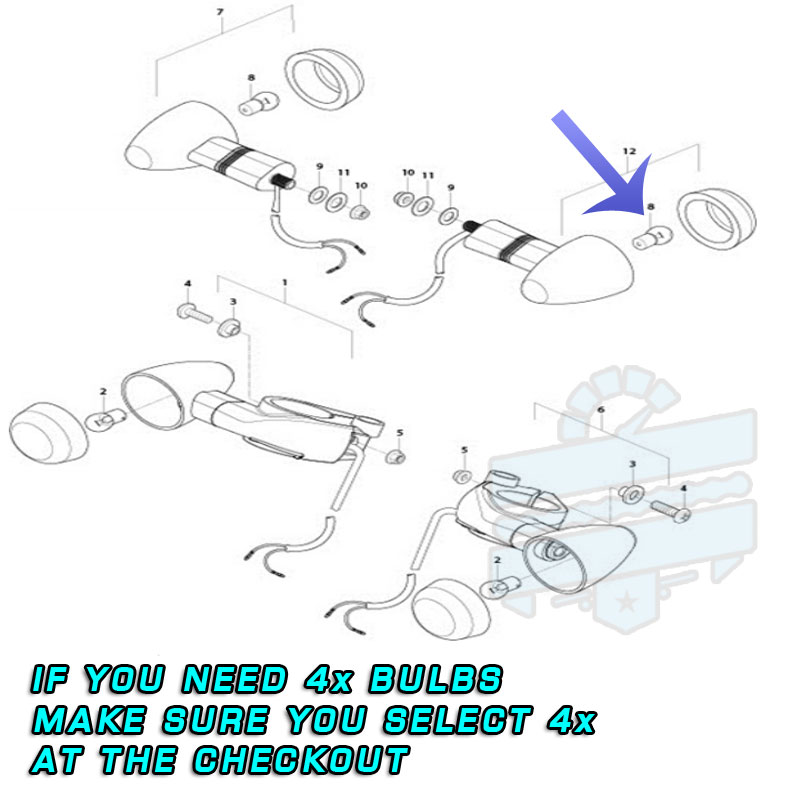
- What’s Included // 1x Clear Halogen Bulb (update your basket count to 2x for a matching pair).
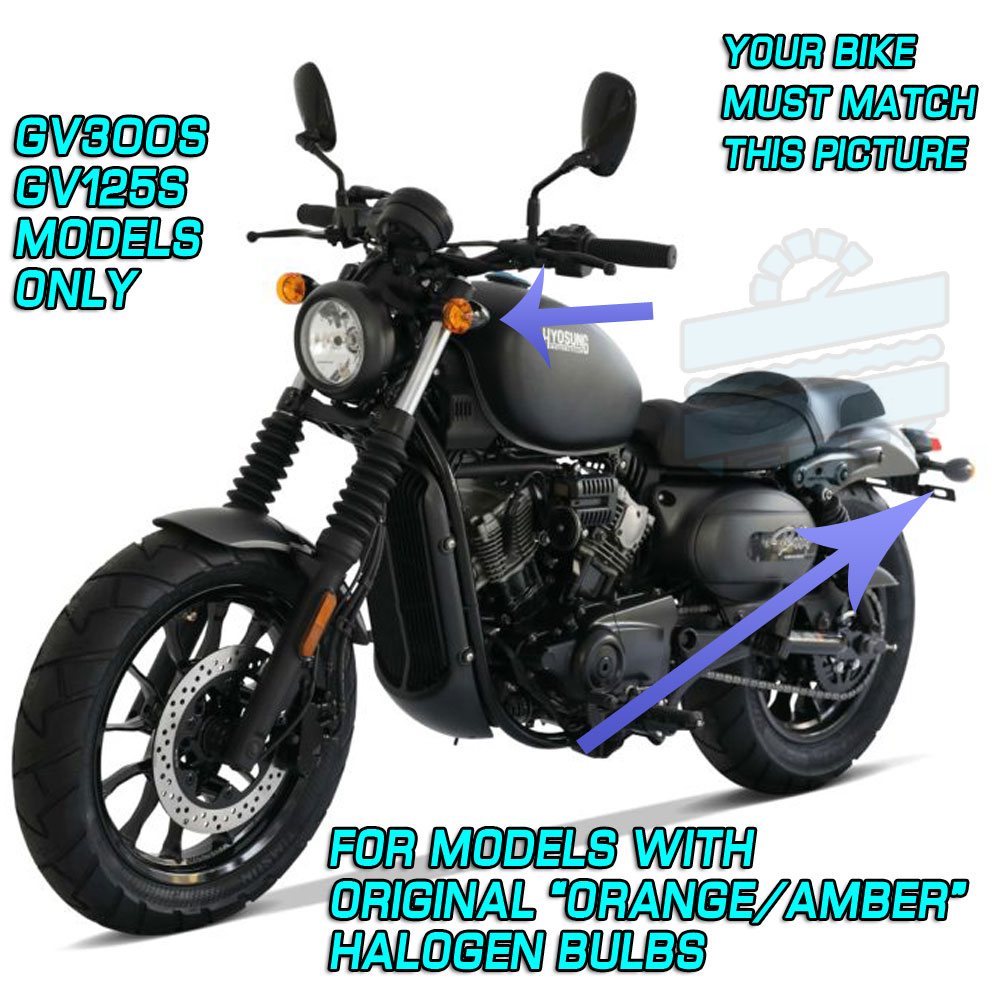
❌It will NOT fit newer EVO, SS, or Supreme versions which feature factory-sealed LED arrays.
✔ FITS THIS STYLE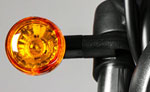 |
❌ WILL NOT FIT LEDS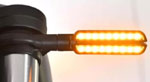 |
Description
Keeping your indicators working properly is the simplest and most important way to be safely noticed by traffic. For newer riders especially, flashing clear intentions is what keeps your space protected on roundabout entries and busy junctions. The classic GV125S and GV300S Bobber configurations run a traditional bayonet bulb setup tucked safely behind the lens, making replacement a straightforward 5-minute task to preserve your road safety and clear your local vehicle testing check.
💎 Ensure Your Intentions Are Seen Clearly
| Optimal BrightnessCrisp amber visual output through your factory plastic shroud. | OEM Reference MatchStandard base fitting configuration built to replace part 09471-12142JS. |
| Road Legal StatusMeets standard filament bulb output thresholds for local safety tests. | UK Stocked SparesDispatched straight from our local storage racks to your garage door. |
📜 Visual Guide: Check Your Indicator Type!
✅ Compatible With Bulb Shrouds: |
❌ Incompatible With LED Pods: |
📜 Model Fitment
Confirmed Matches: Fits the following bobber setups running standard bulb indicators:
- GV125S Aquila Bobber: Fuel-injected V-twin setups from 2019 onwards equipped with traditional orange-lens indicators.
- GV300S Aquila Bobber: Standard engine configurations from 2020 onwards built with classic bulb casings.
Modern EVO, SS, or special Supreme trim packages that left the factory with permanently sealed, non-serviceable LED signal housings.
Open-backed indicator housings often trap road mist and damp winter air. We recommend treating your metal spring sockets with protective electrical spray anti-corrosion fluid to keep moisture out and prevent green rust from dulling your bulb signal connection.
🔧 Install Tips
- No Hassle Swapping: Unfasten your outer lens cover screw, press the glass globe gently inward against the socket spring, twist counter-clockwise, and it slides straight out.
- Clean the Terminals: Take a quick second to clear away any white powder residue or grime inside the metal base plug using a cloth prior to mounting the fresh filament.
- Quick Pre-Check: Click your handle indicator switch over to test the flashing sequence before tightening your lens casing back down to confirm the earth link is clean.
If your indicators are flashing irregularly fast or you want to double-check if your model package uses halogen setup boards, drop us a direct email. For wiring help or to chat about cleaning up your bike lines, head to the forums.
Additional information
| Weight | 0.5 kg |
|---|---|
| Dimensions | 10 × 10 × 2 cm |
You must be logged in to post a review.
GARAGE PICKS // ADD TO BUILD


EXPLORE // RELATED PRODUCTS
-

Braided Air Vacuum Intake Line Hose Kit – Hyosung GV GT 125 & 250 [Carby Models]
£7.99 -

NGK LASER Iridium Upgrade Spark Plug x1 – Hyosung RX125 & RT125D
£16.99 -

EBC Heavy Duty Clutch Plates Friction Drive Overhaul Kit – Hyosung GT125R GV125 GT125 XRX125 RT125D GA125
£65.99 -

Heavy Duty Clutch Springs Set [x5] – Hyosung GV125 GT125 GT125R
£19.99
Independent Shop supplying ride enhancements, quality spares and service kits. Need Owners Books? Click 'Manuals' at the top of the site!
Reviews
There are no reviews yet.