
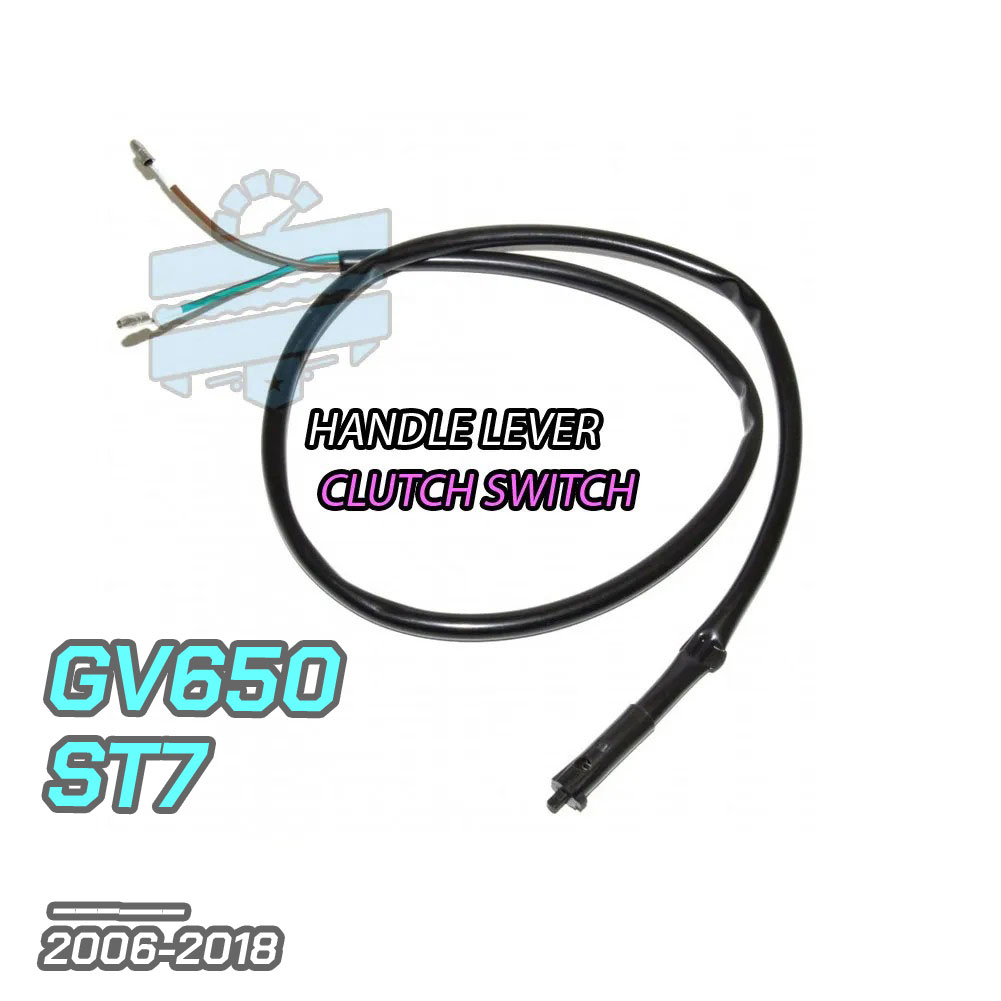

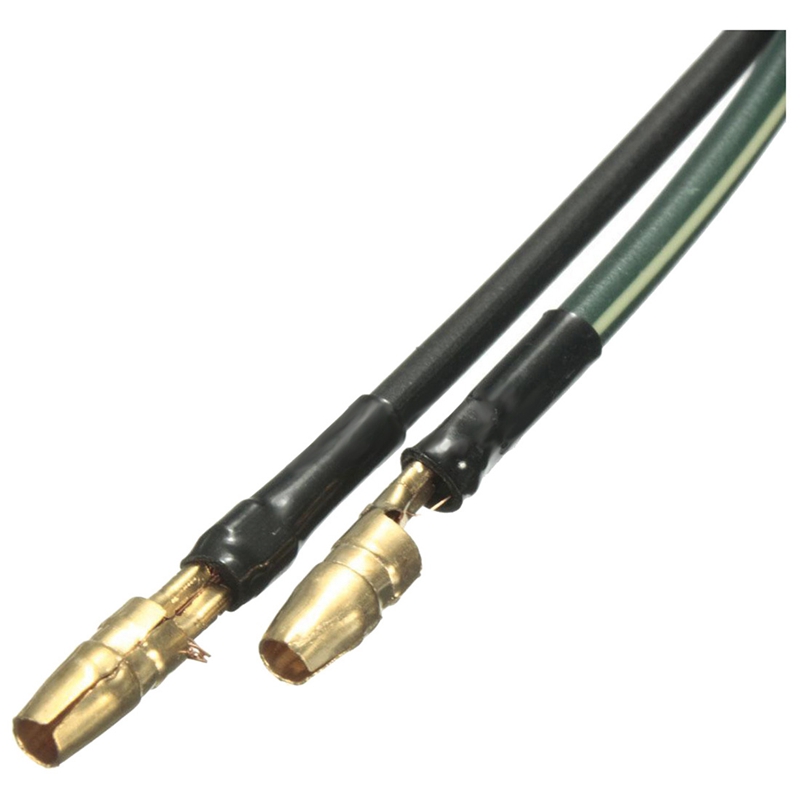

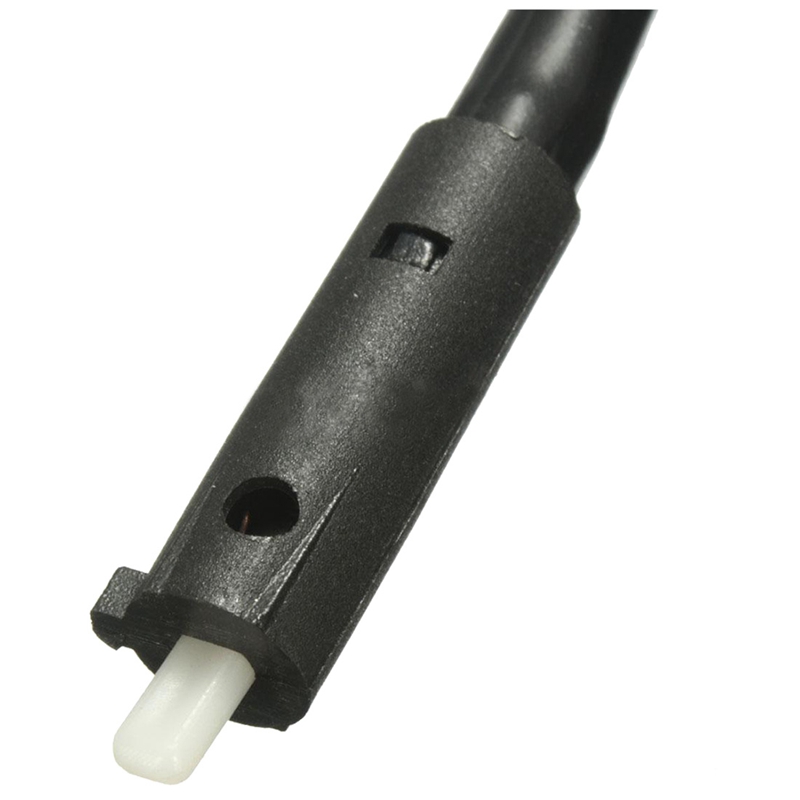


Clutch Lever Handle Switch – Hyosung GV650 ST7 (GV700i) 2006-2018
Bike wont crank over? This vital safety interlock is likely the culprit. A direct plug-and-play aftermarket replacement version that restores immediate functionality and electric starter protection.
- Function // Tells the engine computer the clutch is pulled to allow safe ignition.
- Installation // Straightforward swap underneath the handlebar perch.
- Reliability // Start your bike with a fresh new switch.
- What’s Included // 1x Clutch Lever Handle Micro Switch.
- In Stock // Get your ignition live again before the big rideout with this fresh starting safety fix.
Description
On fuel-injected or carby bikes like the GV650 and ST7, the clutch micro switch is more than a simple convenience—it is a mandatory safety interlock your computer ECU / CDi needs to check before it triggers the starter solenoid. If your motorcycle electronics refuse to crank over, or if it will only turn over while shifted into neutral, this tiny push switch has likely suffered internal corrosion from exposure to rainy downpours. Swapping it is a quick, straightforward repair to keep your everyday trips hassle-free.
💎 Reliable Starting for Your Cruiser
| Instant FixSimple plug connection setup to get you moving again quickly. | OEM ReferencesThis aftermarket switch replaces the part numbers 57460HJ8250 , 57460HP9500 |
| Start the carby bikeCarb bikes check the clutch switch to ensure you pulled the lever in before starting! | Essential Logic Link for EFI modelsRestores the complete grounding loop for electronic injection safety & starting |
📜 Confirmed Fitment Guide
Hyosung Models: Fits the following models below only.
- Hyosung GV650 Aquila (EFI / Carb) – 2006 to 2018.
- Hyosung ST7 / GV700i – 2012 to 2018.
- Custom Handlebars: Tailored to fit standard OEM layouts and low-rise bars perfectly. We cannot promise the wiring leads will stretch long enough to clear super tall aftermarket ape hangers.
🔧 Install Tips
- Locate & Unplug: The plastic switch block rests right underneath the main clutch lever casing perch. Simply release the wire terminal clip from the main wiring loom and slide it free from its mounting channel.
- Check Clearance: If you are using aftermarket low-rise custom bars, make sure to turn your steering lock-to-lock before closing up the job. Ensure the wiring lead moves freely without pulling tight or snagging on the frame.
- Test Before Riding: Once the new connection snaps home, do a static check to ensure the engine only cranks over when the handlebar lever blade is drawn back cleanly against the grip.
Additional information
| Weight | 0.5 kg |
|---|---|
| Dimensions | 10 × 10 × 2 cm |
You must be logged in to post a review.
GARAGE PICKS // ADD TO BUILD


EXPLORE // RELATED PRODUCTS
-

Stainless Steel Carb Inlet Manifold Intake Clamp x2 – Hyosung GV250 GT125R GV125 GT250
£7.99 -

Aftermarket Stator Magneto Alternator Coil – Hyosung 125cc & 250cc Carb Models
£59.99 -

Braided Air Vacuum Intake Line Hose Kit – Hyosung GV GT 125 & 250 [Carby Models]
£7.99 -
![Oil Drain Plug [CNC Magnetic Sump Bolt] - Hyosung GV125S Injected EFi](https://i0.wp.com/hyoriders.club/wp-content/uploads/2020/04/xgv125sdraincnc.jpg?fit=362%2C362&ssl=1)
Magnetic Oil Drain Plug [Sump Bolt] – Hyosung GV125S Bobber EFi
£14.99
Independent Shop supplying ride enhancements and quality spares with fast dispatch. Need assistance? Access our workshop guides, manuals, tutorials or drop by the forums for troubleshooting help.
Reviews
There are no reviews yet.