






Clutch Cable – Hyosung GT125 Naked & GT250 Comet
Fix your sloppy gear shifts with a fresh inner wire pull. This aftermarket part is the correct longer length needed for standard upright handlebars, making a new Hyosung naked clutch cable the easiest way to get back your snappy lever feel on local roads.
- Exact Sizing // Tested on unfaired naked donor bikes to make sure you get a proper factory height match.
- Fluid Action // Features a smooth inner wire sliding core to prevent friction when pulling your lever.
- Direct Swap // Made to standard length specs so it drops right into your engine casing brackets easily.
- Hardware // Supplied as 1x complete brand-new wire assembly ready for immediate garage installation.
❌ It will not fit “G T R ” sports models because it is too long
Description
A stretched, rusted, or kinked inner wire ruins the overall operation of your bike, making your foot shifts feel completely sloppy and fine tension adjustments impossible. The reality of maintaining these unfaired models is that the GT Naked and Comet variants use upright bars on top risers, which require a much longer wire lead than their sports siblings. Choosing this premium aftermarket Hyosung naked clutch cable ensures you get the exact length needed for proper routing around the tank. It keeps your setup moving freely and your bike running safely on local roads.
💎 LEVER CONTROL HYOSUNG NAKED CLUTCH CABLE SPECIFICATIONS
| Proper Outer LengthSized carefully using real donor frames to ensure the handlebars can turn lock-to-lock freely. | Smooth Inner CorePolished internal sliding path that helps stop heavy wrist cramp during city riding. |
| Stops Lever SponginessReplaces soft or frayed wire bundles to restore a direct, predictable bite point. | Factory Cross ReferenceEngineered directly to replace old original parts matching: 58200HM8101 or 58200H98100. |
📜 Confirmed Fitment Guide
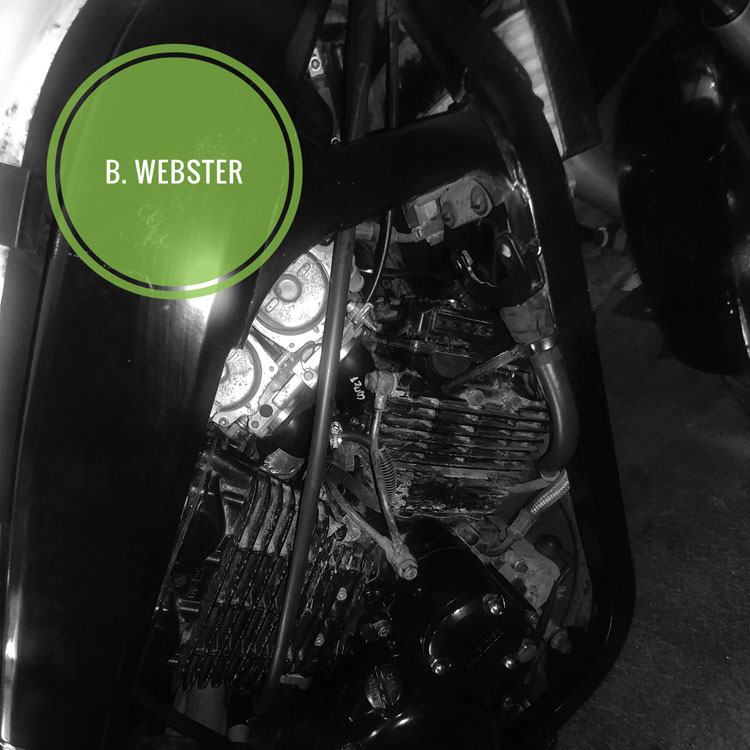
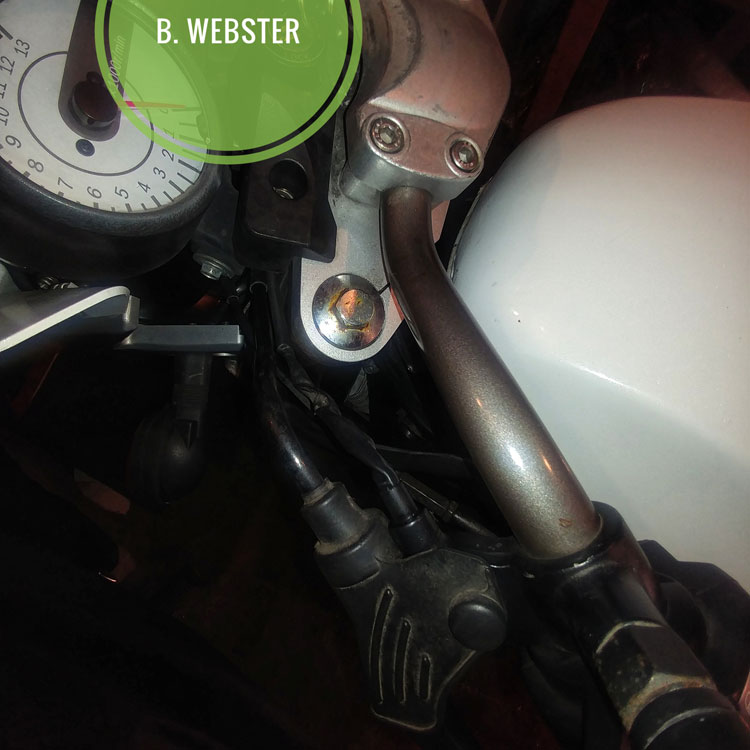
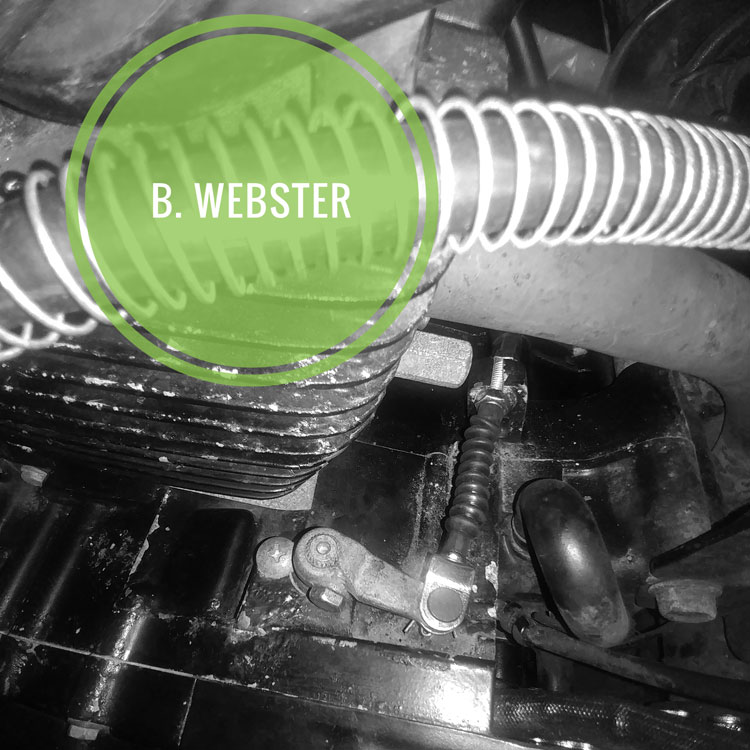
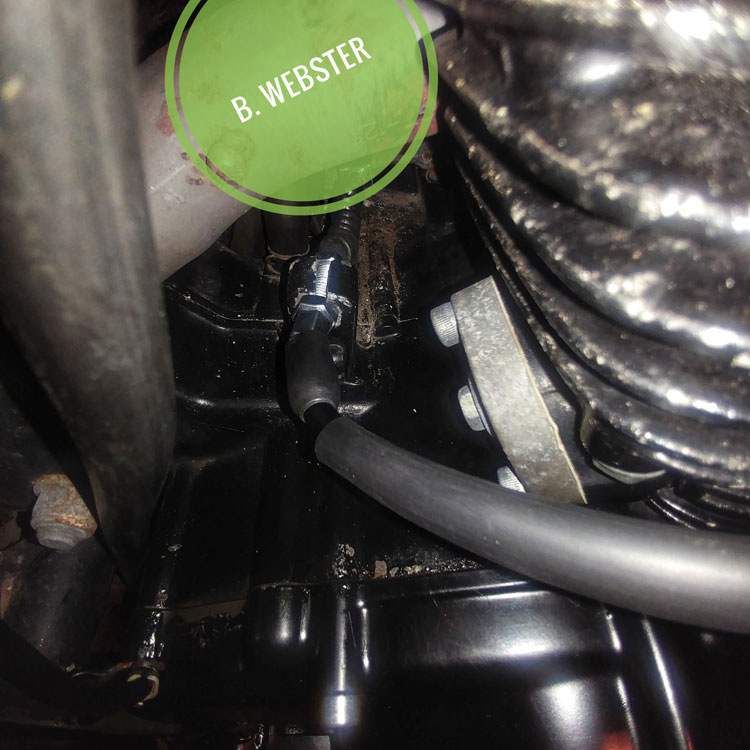
Naked & Comet Bike Models: Custom length verified only for the standard high handlebar vehicles noted below. See the diagram picture for routing points.
- Hyosung GT125 Naked / GT125P Naked: Fits all unfaired models from 2003 to 2019+.
- Hyosung GT250 Naked Comet: Fits all unfaired twin models across all production years.
- GTR Sports or Aquila Cruisers: This wire is completely too long to work on GTR clip-on models, GV Aquila cruisers, or any 650cc engines. Their layouts have completely alternative frame routes.
🔧 Install Tips
- Routing is the Main Goal: Make sure your new wire follows the exact same pathways around the headstock as the original factory piece. Avoid making tight loops or pinching the black sheath against the hot engine block or petrol tank brackets.
- Add Extra Slickness: Even though the inner core comes pre-greased, adding a few drops of light liquid tool oil down the top opening before you connect it will massively improve its service life and make the pull even lighter.
- Set Your Slack Points: Once the metal ends are hooked into place, use the metal thumb wheels on both the handlebar perch and the engine side bracket to dial in your settings. Aim for about 2mm to 3mm of free play slack at the tip of your lever before it starts pulling the arm.
You must be logged in to post a review.
GARAGE PICKS // ADD TO BUILD
-

Genuine Oil Drain Cover O-Ring [Strainer Cap] – Various Hyosung 125 & 250 Models
£4.99 -

EBC Heavy Duty Clutch Plates Friction Drive Overhaul Kit – Hyosung GT125R GV125 GT125 XRX125 RT125D GA125
£65.99 -

Carb Rebuild Kit (Carburetor Repair Parts) – Hyosung GT125R GT250 GV125 GV250 GT125
£14.99 -

Clutch Lever Cable Adjuster – Various Hyosung Models
£4.99
EXPLORE // RELATED PRODUCTS
-

Upgrade Regulator Rectifier [Big Heatsink] – Hyosung GT/GV 125 250 Carb Models
£39.99 -

Anodized Gear Shift Linkage Rod [Shifter Bar] – GTR 125 250 RC Hyosung
£19.99 -

Premium 520 Chain Sprocket Kit – Hyosung GT125R GT125 GT250
£74.99 -

Front Engine Sprocket Nut – Hyosung GV125 GT250 GT125R GV250 RT125D
£12.99
Independent Shop supplying ride enhancements, quality spares and service kits. Need Owners Books? Click 'Manuals' at the top of the site!
Reviews
There are no reviews yet.