
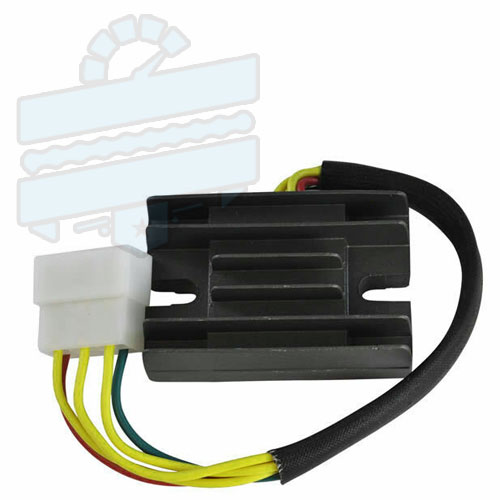


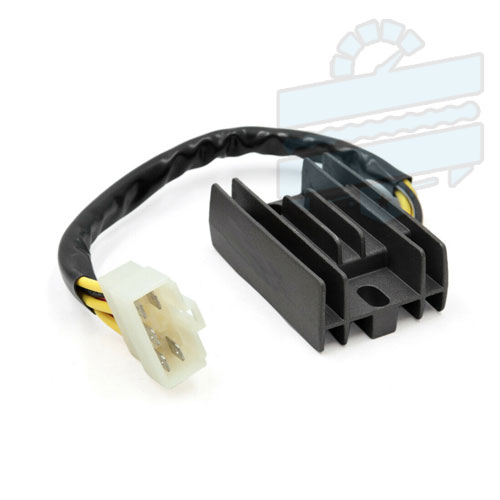

Aftermarket Regulator Rectifier [Reg Rec] – Hyosung RX125 RT125
The definitive fix for the number one electrical issue on these single-cylinder thumpers. This beefed-up charging box replaces the fragile original units that melt under heavy work, making a fresh Hyosung RT125 regulator rectifier the safest way to stabilize your voltage during a maintenance project.
- Cooling // Enlarged metal fins disperse intense internal electrical heat efficiently to prevent total circuit meltdown.
- Voltage // Outputs a rock-solid, constant current level to protect your battery, digital meters, and ignition coils.
- Wiring // Arrives as a direct plug-in match with extended loom lines so you never have to hack or splice wires.
- In Stock // Get started and ride. Ready for an immediate electrical restoration.
Description
If your machine is showing active signs of temperamental idling, a weak charging rate, or dimly glowing headlights, your charging controller is the most likely culprit. The original grey factory regulators are highly prone to getting cooked over long service periods, causing internal circuits to break down or melt entirely from pure overwork. This slow maintenance reality allows wild electrical surges to disrupt your loom, leaving you stranded with a dead battery. Sourcing this beefed-up aftermarket Hyosung RT125 regulator rectifier is a crucial electrical upgrade. It introduces modern internal components and a highly expanded metal cooling area to outperform the stock setup in every single way, securing reliable starting power across your restoration project.
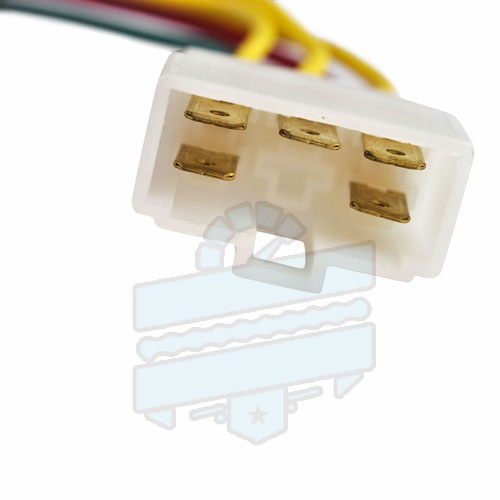
Upgrading your bike to this heavy-duty unit delivers a cleaner throttle response, a much happier engine tickover, and brighter all-weather safety lighting. We use heavy-duty component modules that have been thoroughly proven in harsh quad bike environments, ensuring they handle intense charging pulses with absolute ease. The unit arrives as a direct plug-and-play match for your original main loom connector, complete with extended wire leads to eliminate the need for untidy wire cutting or tape wrapping during your maintenance work.
💎 ELECTRICAL HARDWARE HYOSUNG LATEST REGULATOR OVERVIEW
| Expanded Metal HeatsinkDeep aluminum cooling rows that disperse heat rapidly to completely stop thermal meltdown bugs. | Stable Charging OutputLocks the stator output to a smooth, safe level to protect your battery cells from boiling over. |
| Quad-Proven DurabilityHeavy duty internal diode arrays built to withstand constant engine single-cylinder vibrations. | True Factory BlueprintConfigured precisely to slot straight onto original frame locations to replace reference code: 32800H01413. |
📜 Confirmed Fitment Guide
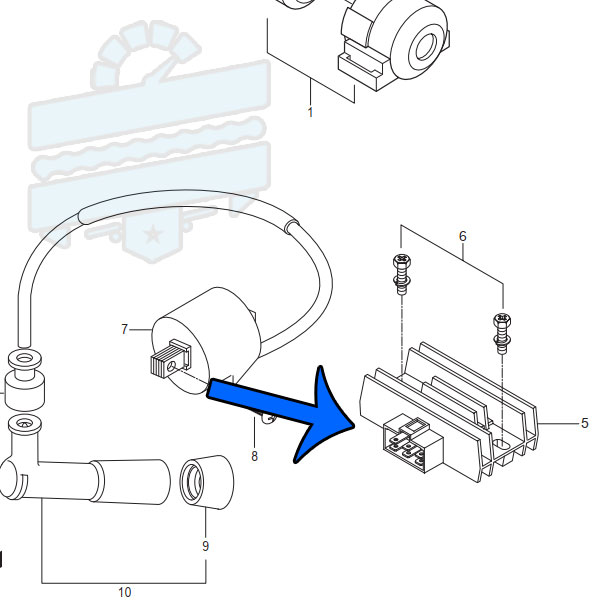
Hyosung Models: Plastic connector shapes and pin tracks are verified for the standard 125cc single-cylinder bikes listed below. See the diagram picture for main alternator loom connections.
- Hyosung RT125D: All years.
- Hyosung RX125SM / RX125D: All years.
- Hyosung XRX125: All production years.
🔧 Installation Tips & Advice
- Inspect Your Engine Alternator Plugs: Always closely look over the plastic multi-pin socket coming out of your side engine stator covers. These coupling tracks are notorious for gathering green moisture scale or suffering black burn marks, which is the main cause of charging box failures. Clean the metal pins thoroughly before plugging the new unit in.
- Test Your Battery Health and Cells: A sulfur-loaded or completely flat battery will place an immense amount of continuous electrical stress on a brand-new component, causing it to overheat. Ensure your cells are fully charged and passing a load test before you start the bike up.
- Mount Cleanly to the Frame Body: Unbolt your failed original part and clear away any dry road rust or scaling from the frame bracket with a wire brush. Bolt the new metal casing down securely into the standard spot using your original screws to achieve a clean ground contact.
Additional information
| Weight | 1 kg |
|---|---|
| Dimensions | 20 × 20 × 5 cm |
You must be logged in to post a review.
GARAGE PICKS // ADD TO BUILD
-

Magnetic Oil Drain Plug [Sump Bolt] – Hyosung GV125 GT125R GV GT250 GV650 GT650 RX RT 125
£9.99 -

Engine Front Sprocket Washer Safety Lock – Hyosung GV125 GT250 GT125R RX125 GV250
£7.99 -

Front Engine Sprocket Nut – Hyosung GV125 GT250 GT125R GV250 RT125D
£12.99 -

Japan D.I.D Cam Shaft Chain – Hyosung GT250 GV250 RX125 RT125
£79.99
EXPLORE // RELATED PRODUCTS
-

Aftermarket Ignition Coil – Carby Hyosung GV125 GT125 GV250 GT125R GT250
£29.99 -

Anodized Gear Shift Linkage Rod [Shifter Bar] – GTR 125 250 RC Hyosung
£19.99 -

Premium 520 Chain Sprocket Kit – Hyosung GT125R GT125 GT250
£74.99 -

Brake Disc Rotor Bolts [x6] – Hyosung GT125R GT650 GV250 RX125 GT250 TE450
£12.99
Independent Shop supplying ride enhancements and quality spares with fast dispatch. Need assistance? Access our workshop guides, manuals, tutorials or drop by the forums for troubleshooting help.
Reviews
There are no reviews yet.