
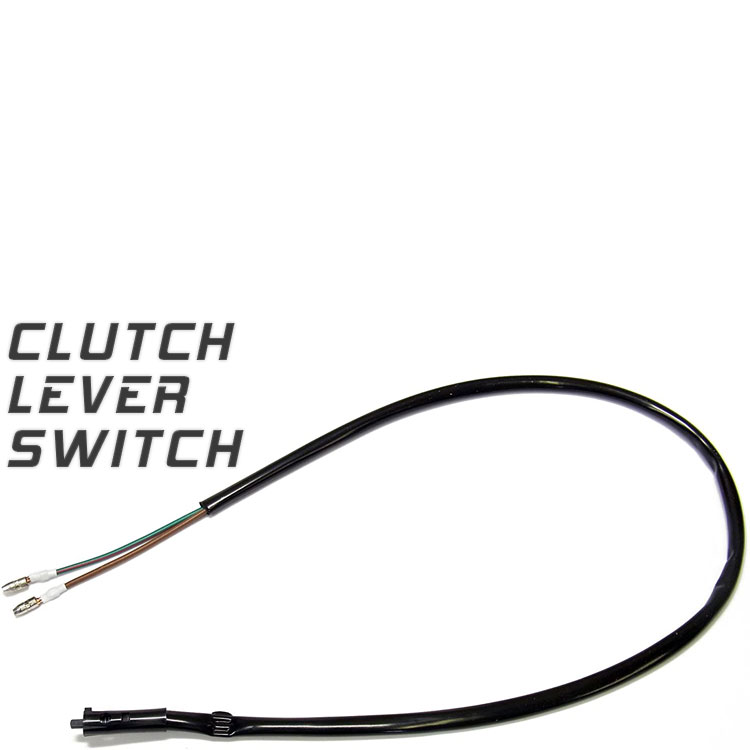




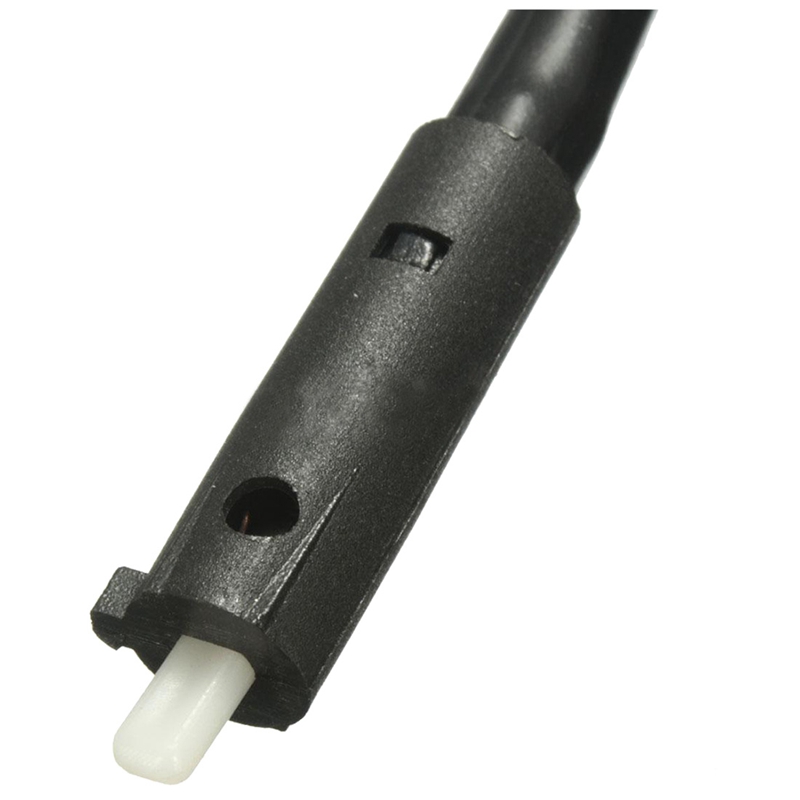

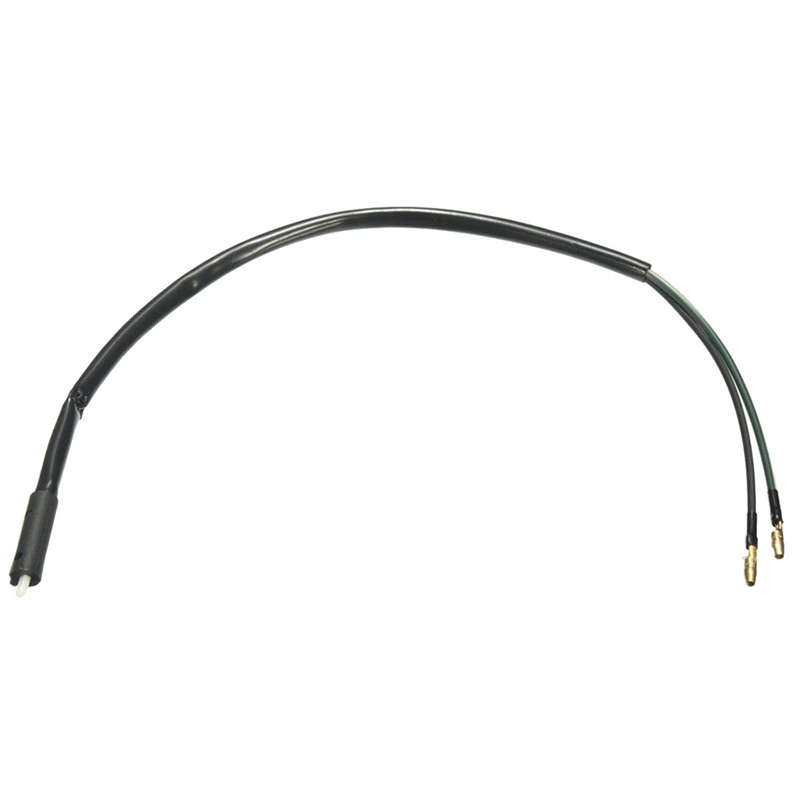
Aftermarket Clutch Lever Switch (Safety Cut Out) – Hyosung GT & GTR Models
Don’t chop your wire harness—fix your starting circuit properly. This reliable plug-in unit restores the vital safety link between your handlebar perch and the starter motor, making a fresh Hyosung clutch switch the best way to bypass dead starter button headaches on local roads.
- Safety // Stops your bike from lunging forward unexpectedly if you hit the starter button while in gear.
- Wiring // Connects smoothly straight into your original factory loom plugs without any messy splicing.
- Logic // Restore the signal back to your Carb CDI or your EFi ECU unit & start the bike!
- In Stock // Get back on the road sooner with parts packed up and ready for your driveway repair layout.
☑️ This switch is GT & GTR models only.
❌ Not for GV Aquila models because it is too short!).
✅ Suits carb models too!
Description
A broken electrical contact under your left handlebar is a massive reason behind a completely dead starter button. While it is incredibly tempting to just twist the wire strands together to get moving, this shortcut often results in much larger electrical issues down the line. Cutting safety lines out of your loom removes a critical safety layer—meaning your bike can fire up and lunge forward if you crank it while in gear—and on electronic injection models, it can disrupt your computer mapping during engine idle start ups. Sourcing this premium aftermarket Hyosung clutch switch allows you to maintain total electrical safety for a fraction of original part pricing on local roads.
💎 ELECTRICAL REBUILD HYOSUNG CLUTCH SWITCH SPECIFICATIONS
| Restores Starting LinkEnsures the starter motor can only engage safely with the handlebar lever pulled fully in. | Computer Mapping FriendlySends steady electrical signals to stop fuel map issues on injected models. |
| Tested Frame SizingPin layouts and plunger lengths verified using real donor perches for an exact fit. | True Factory BlueprintEngineered to clip right inside your bracket to replace old original codes: 57460HJ8250. |
📜 Confirmed Fitment Guide
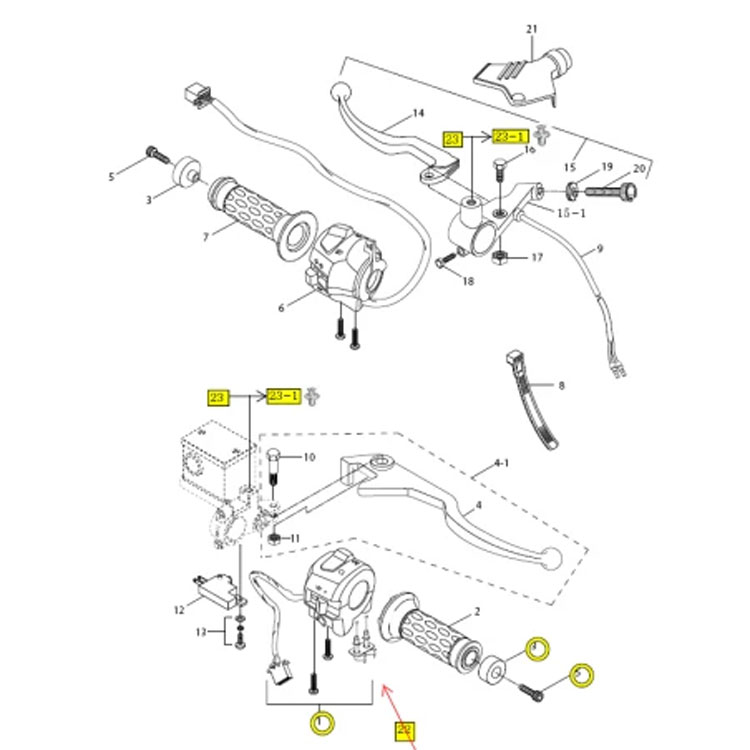
Naked & Faired Sports Group: Pin positions match the standard clip-on and upright handlebar layouts listed below. See the diagram picture for perch positions.
- Hyosung GT125 / GT125R Sport: Fits unfaired naked models and faired variants.
- Hyosung GT250 / GT250R Sport: Fits all carb models and injection twins across all years.
- Hyosung GT650 / GT650R Sport: Fits mid-weight configurations up to 2020.
- GV Aquila Series: The wire leads on this specific part are completely too short to mount onto cruiser bars. This will strictly not fit the GV125, GV250, or GV650.
🔧 Install Tips
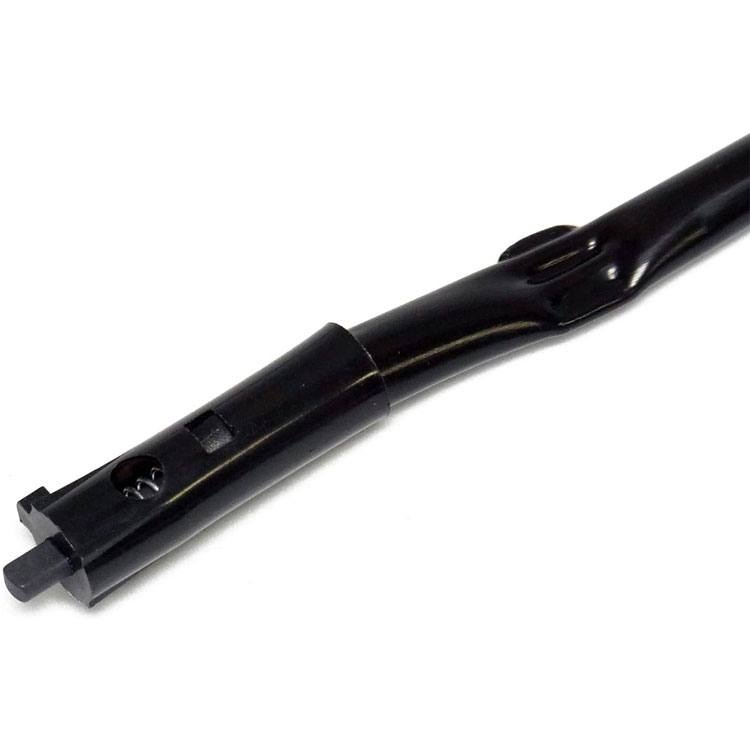
- Listen for the Plunger Click: Once you slide the plastic tab into place, pull your lever blade in slowly. You should hear a faint mechanical click noise. If you hear nothing, double check that the component is seated flat inside the aluminum perch cutout.
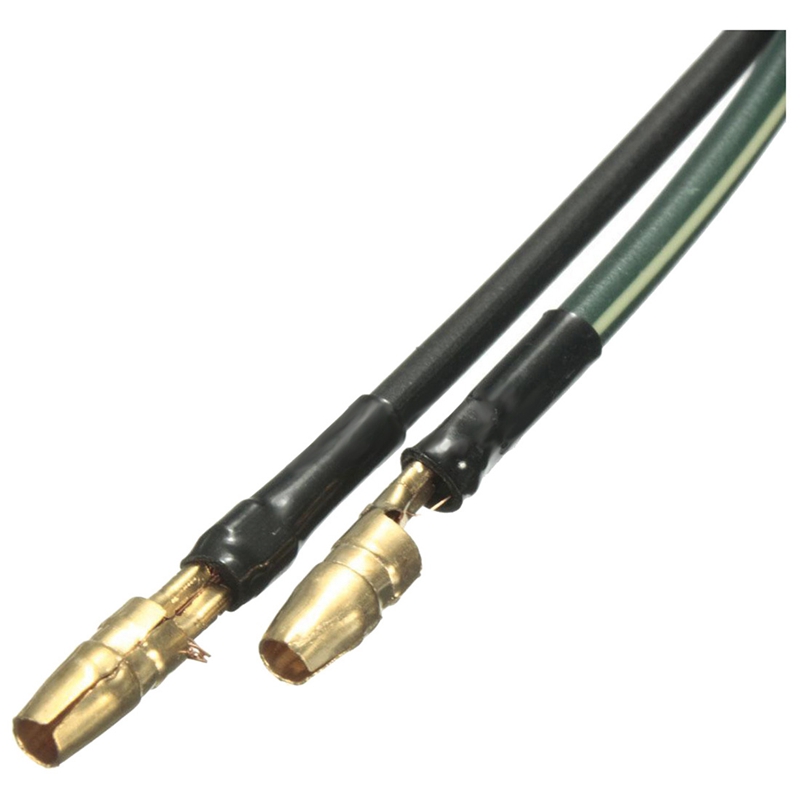
- Blast the Connector Clean: Before pushing the prongs into your bike’s harness socket, spray a fast blast of clean electrical contact cleaner down the lines to wash away any old oxidation.
- Never Snip and Bypass: If your engine still refuses to turn over after popping the fresh switch in, go check your side stand sensor and neutral line pin switches first before you think about chopping your factory wires!
Additional information
| Weight | 0.3 kg |
|---|---|
| Dimensions | 20 × 20 × 2 cm |
You must be logged in to post a review.
GARAGE PICKS // ADD TO BUILD


EXPLORE // RELATED PRODUCTS
-

Complete Stainless Steel Engine Bolt Kit – Hyosung GT GT125R GV125 GT250R GV250
Price range: £18.00 through £21.00 -

Aftermarket Ignition Coil – Carby Hyosung GV125 GT125 GV250 GT125R GT250
£29.99 -

Heavy Duty Clutch Springs Set [x5] – Hyosung GV125 GT125 GT125R
£19.99 -

Stainless Steel Float Bowl Carb Bolts Kit – Hyosung GV & GT 125/250 Carburettor Models
£5.99
Independent Shop supplying ride enhancements and quality spares with fast dispatch. Need assistance? Access our workshop guides, manuals, tutorials or drop by the forums for troubleshooting help.
Reviews
There are no reviews yet.